Answer:
The FFmpeg Video Transcoder is designed to convert video (and audio streams) to a standard .avi for a more stable and reliable video playback format. It can also convert Graphics files to a more suitable format. To start, you will need to download FFmpeg and choose the correct Operating System that you are using.
Once you have the zip folder extract all to a suitable location and find the folder called bin. Locate and copy the ffmpeg.exe into a desirable folder location (not the Desktop). This can be the Acquire main folder or an alternative file location of your choice, e.g. C:\FFmpeg
Video Transcoder Settings
- In the Settings window you can select the Transcoder to convert: Never, Always or Ask
- Specify the path of the Transcoder Executable, e.g. C:\FFmpeg
- You can change Parameters, e.g. change the output file to HD Portrait.avi, HD Landscape.avi, etc.
- Set File Types: All supported, Video or Graphics.
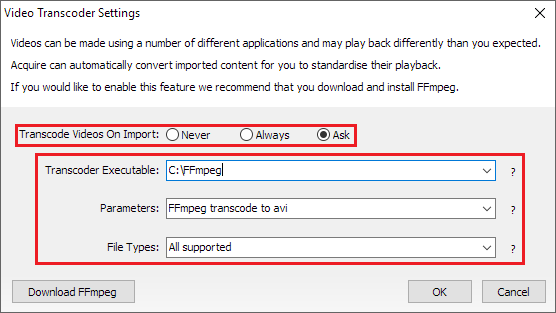
Once you are happy with the Settings, click OK to Save. Depending on your selection to Transcode Videos on Import now when you add a Media file in to a Project, Acquire Editor will either Transcode the file automatically or provide a prompt.
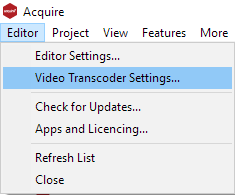
To change Settings, click Editor and select Video Transcoder Settings...