
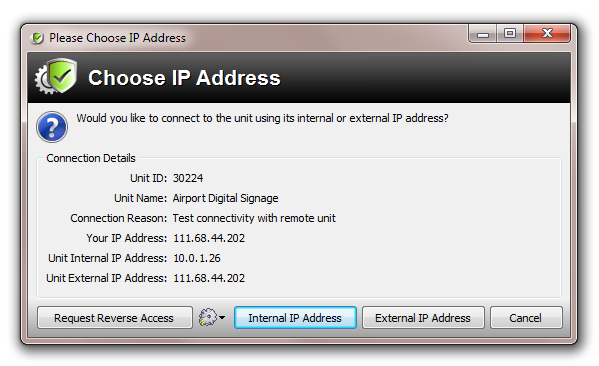
You are presented with three options by which to connect to your remote units:-
- By using its internal IP address: this can only work if you are on the same LAN or connected via VPN.
- By external IP address: you need to make sure that you have properly mapped the inbound ports to each of your units.
- By requesting ‘Reverse Access’
Requesting Reverse Access
By requesting ‘Reverse Access’ – If you are having difficulty configuring inbound ports, or you have a ‘firewall’ that does not permit inbound access, or your units are connected to the internet via a mobile connection e.g. 3G then you can use Reverse Access. Reverse Access uses the unit’s outbound connection to connect in. In order to use this function you must confirm that you are authorised to do so by ticking the box shown in the screenshot below.
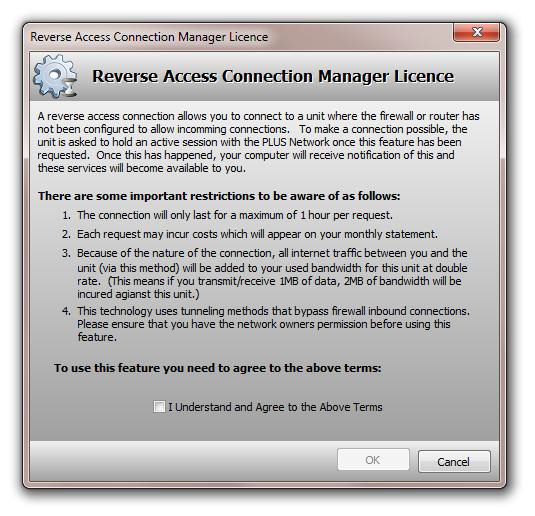
After you confirm acceptance of the licence, your reverse access connection will be queued until the unit in question next connects to the PLUS! Network servers e.g. this may take 15 minutes, if that is the time refresh that you have selected. Site Manager will notify you when the reverse connection has been made live.
Connection Test
If you have opted for Internal IP Address connectivity then you will be presented with the following window.
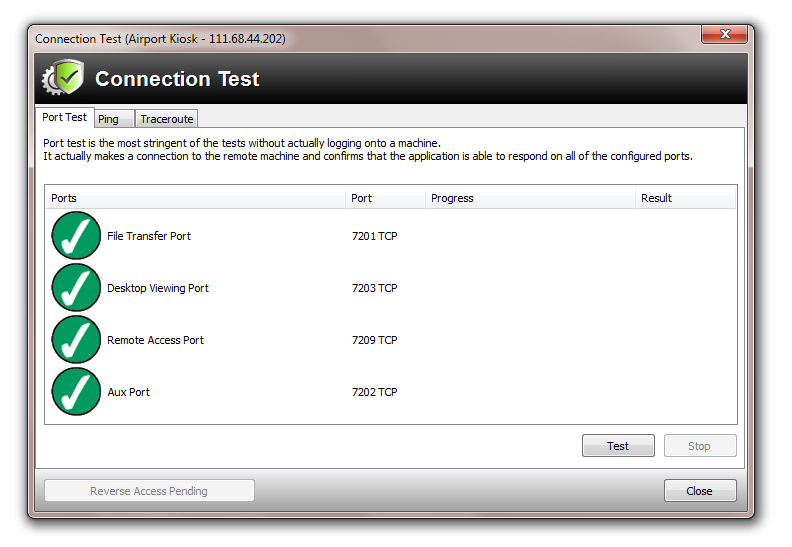
All of the inbound ports have been configured correctly so you should have no problem connecting to the unit.
If you are having problems you can use the
- ‘Ping’
- ‘Traceroute’
Tab functions to investigate further.
The ‘Test’ button will re-try the inbound connectivity to your unit.