
Thus, if a campaign contains a single slot, you or the client can upload and assign as much content as they wish, but it will only ever take up their one campaign slot in the inventory of the playlist. The same is true if a campaign utilizes more than one slot - different media content can be uploaded and assigned to the different slots, but no matter how many slots and how much media in each slot, the campaign only has a single playlist position (it just shows one media item every loop).
Media Approval
Content uploaded by an administrator, or a manager is typically automatically approved for use as they are expected to be 'trusted' operators. You may choose to use DOOHAd simply by operating with one or more users of this level and managing all the content yourself. You will still need to create a client to assign the content to (which can be your own organisation). However, often it is advantageous to allow clients to manage their own content on the screens. In this case, we typically deem clients as not trusted (user setting allows override), so any media uploaded by them needs approval.
For clients and third parties, content can be uploaded and assigned, but for their content to be shown, it must first be approved for use. When a client uploads media content, they must upload it into their own content collection.
Once content is uploaded, they can assign it, but you and your colleagues will see a status on the dashboard and on the side menu that there is content awaiting approval. A number in red will show the quantity of media items awaiting approval. Typically a client is expected to upload media with enough time to allow you to review and accept/reject the media and replace it if necessary. Because of weekends, the period is recommended to be 72 hours (although in practice we see clients pushing to the last hour!). Content can be approved at any time however, even when a campaign has begun.
NOTE: If content is not signed off when a campaign starts, or if a campaign is already in progress and content needs to be replaced during the run of the campaign, new content uploaded by the client must be approved before they remove the old content with the new content, otherwise their campaign will be skipped in the playlist and replaced with filler content.
To approve the media uploaded, press Approve Media from the side menu.
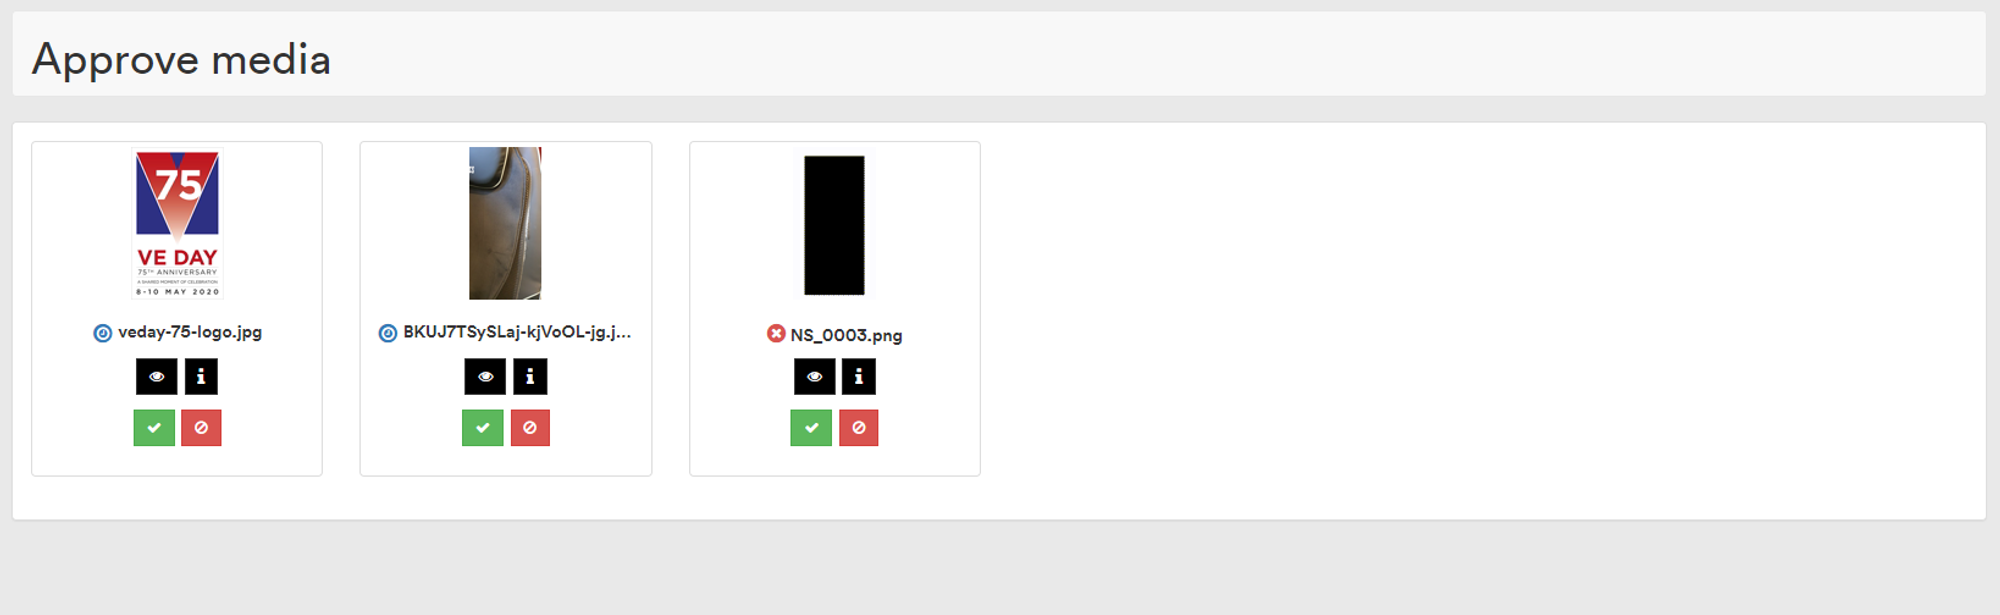
You should see a list of all of the media uploaded and awaiting signoff. At this stage, none of the media has been checked if it matches the resolution, but before any of it can be assigned to a campaign, the client or third party must drag it into a slot, which will reject it when they do so (if the campaign type has this default option selected). Similarly, any video media will be cut to the specific time restriction in the campaign, so any under- or over-length media will be forced to run for the allotted time (content less than the time will hold on the last frame, and any videos longer will be cut short).
You should therefore focus on the content of the media to ensure it meets with your organisation's and legal standards in your area. Typical reasons for rejection are nudity or otherwise inappropriate content, flashing images or strobing effects, content which is not applicable to the brand the campaign slot was purchased for.
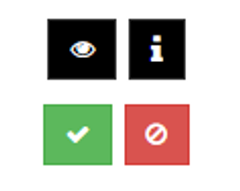
Using the icons below each media item you can do the following:
- Preview the media: this opens the media in a new window for you to view and check it conforms to your standards.
- View information about the media: details such as the file's pixel dimensions and aspect ratio, media owner and upload dates are shown.
- Approve content: use this to select the media as 'approved'
- Reject content: use this to reject the media.
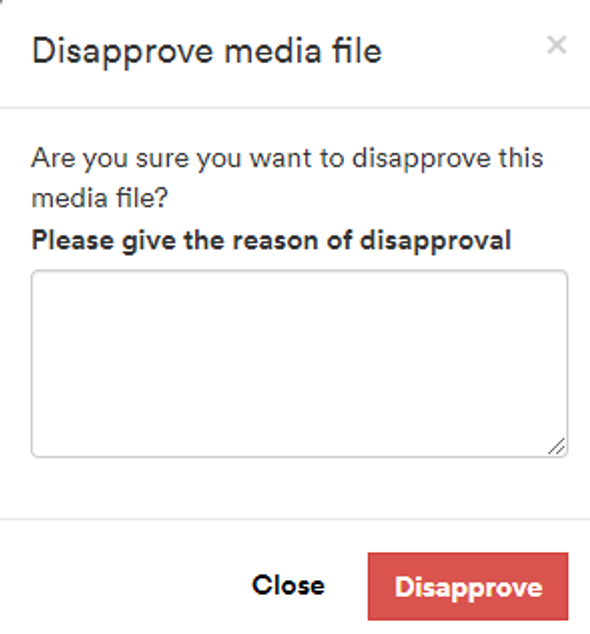
If you choose to reject the media, it is recommended to provide information to the media owner as to why the media has been disapproved so they can remedy the issue.
Content remains in this approvals area until successfully used in a campaign, and if you need to change the status of any media you are able to change it at any point.
Media Management
Media is uploaded typically within the campaigns themselves, when assigning to slots, but it is recommended to remove aged content from your collection over time.
Select the option Media > Collection from the side menu
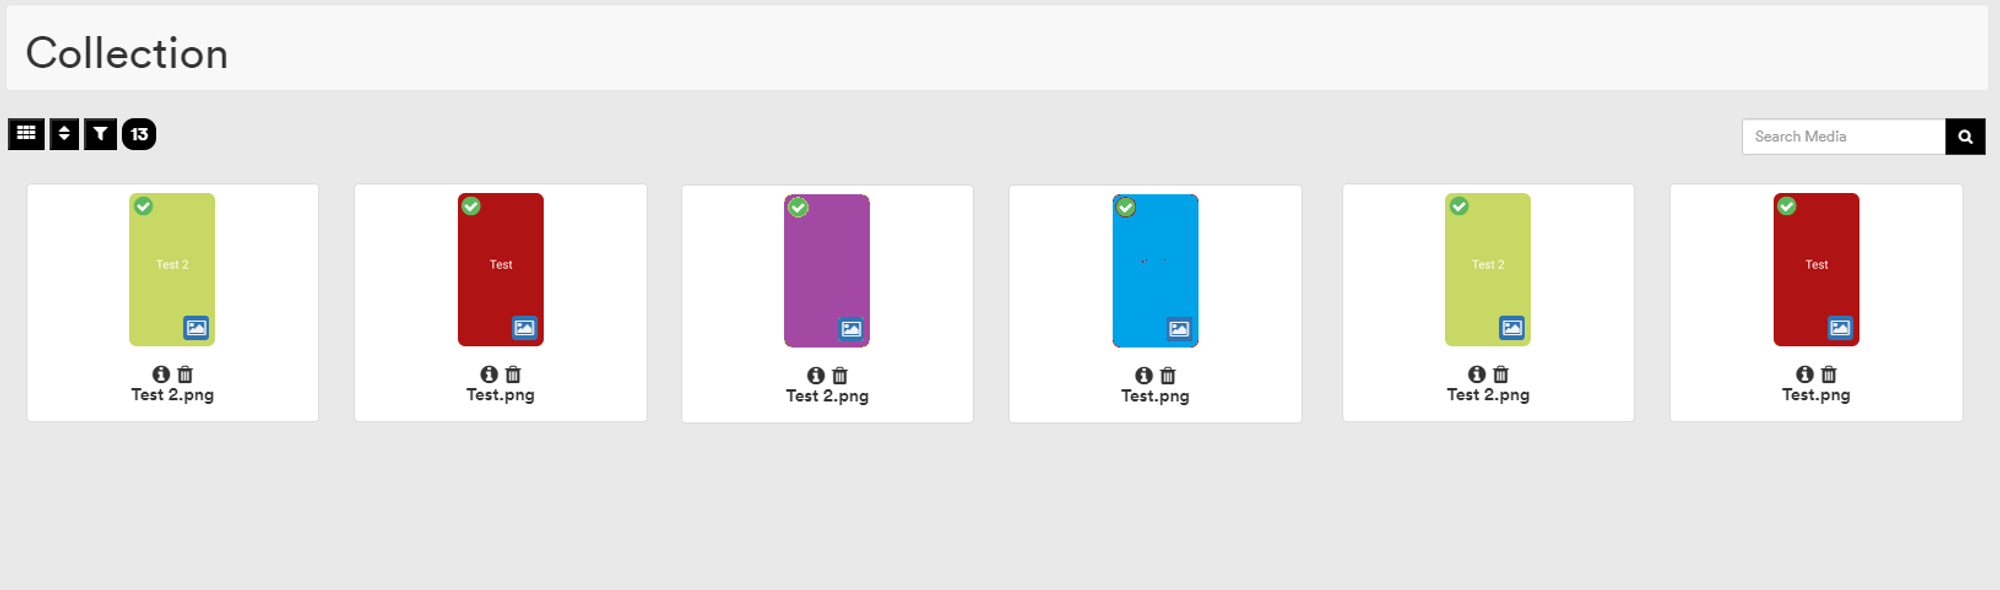
As with the slot media assignment, you can sort, filter and search for media on the screen.

The icon to the top left of the media thumbnail shows you the current status of the media signoff.
- Blue clock - content awaiting signoff
- Red cross - content has been rejected. Check the media information for the reason.
- Green tick - content has been approved and if assigned to a slot, will play when the campaign is live.
You can preview the media by clicking on it.
You can view the details of the media by clicking on the ![]()
![]() icon under the media to see information.
icon under the media to see information.
To delete old files you no longer wish to use - press the ![]()
![]() trashcan icon under a piece of media and press 'OK' on the confirmation dialog to delete it.
trashcan icon under a piece of media and press 'OK' on the confirmation dialog to delete it.
This is a hard delete and cannot be undone.
Note: that any campaigns using the media will no longer show that media.