
Download Here: DoohAd Standalone Installer
Installation Process
- Run the standalone DOOH installer.
- Follow the on-screen wizard to complete the installation.
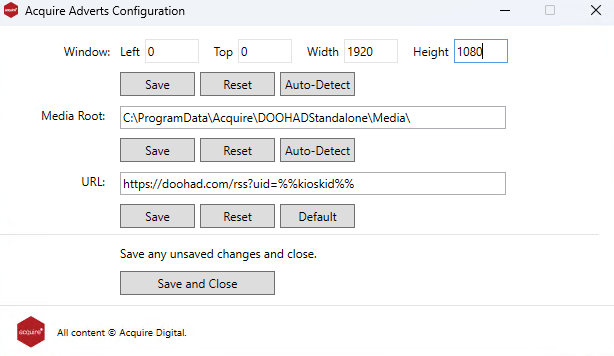
Once complete, the Acquire Advert Configuration window will automatically launch
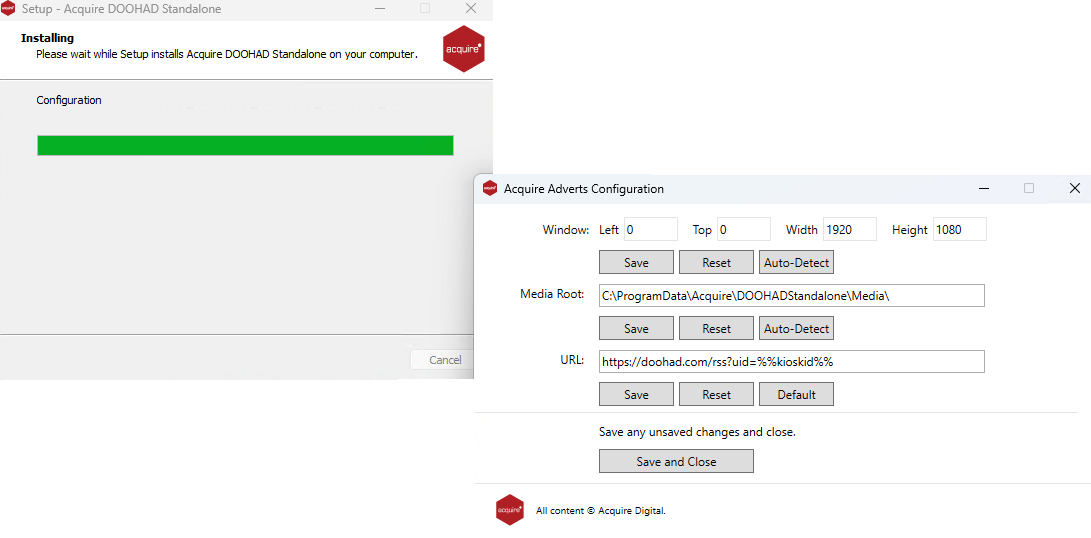
Advert Configuration Settings
Use this screen to define how adverts are displayed on your digital screen:
- Left: 0
- Top: 0
- Width: 1920
- Height: 1080
These values may vary depending on the resolution of your digital screen.
You can OPTIONALLY configure any settings here (by default you do not need to and should not touch items). You MAY want to override the players' default of auto-sizing the output for example on a multi-screen display.
The screen should NOT be scaled in display settings. It should be 100% scaling for auto-scale to work.
- Media root: if you want to add a different folder but generally it will look in the media folder
- URL: this will be set as default when the player ID is assigned to the DOOH CMS.
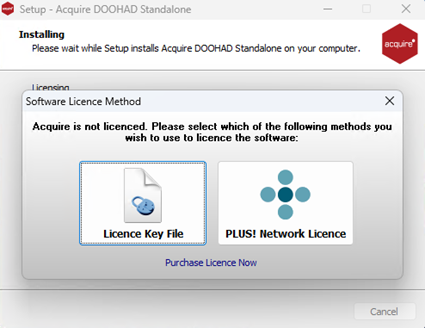
Licensing & Activation
At this point you will be asked to license the software.
- After saving, the licensing window will appear.
- Select Plus! Network.
- Log in using the credentials provided by your account manager.
- A Plus! ID will be generated which will be used to assign it in the DOOH CMS.
Click Next to proceed.
Plus! Activ8 Setup
At this point you will be welcomed to the Plus! Activ8, you should have been given login details so choose Next (if you haven't please contact your Account Manager)
Enter your provided Username and Password.
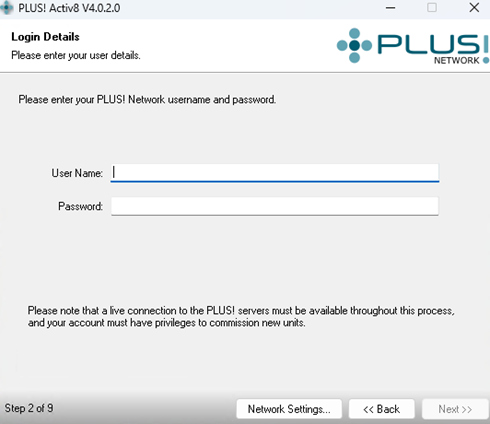
Click Next to continue
Select Register this computer as a new unit.
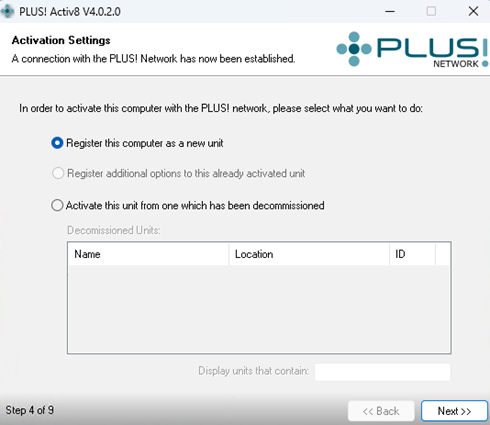
Click Next to continue
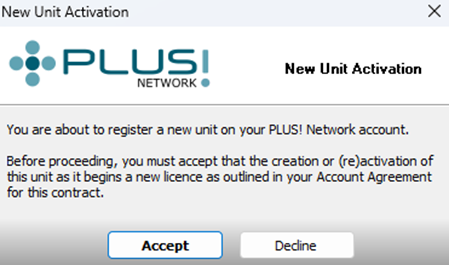
Accept the license Terms & Conditions.
-
Choose the following components to install:
- Acquire
- System Watchdog/System Sentinel
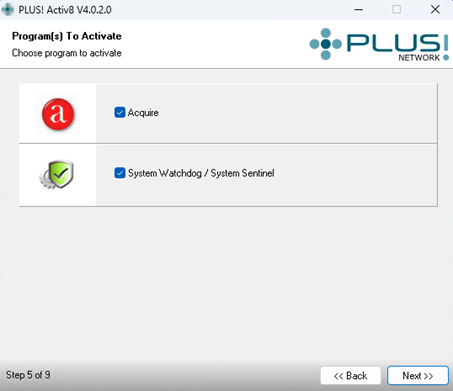
Click Next to continue
Provide a Unit Name, Description, and optional Location.
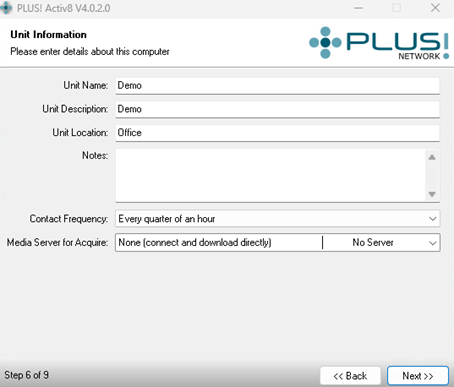
Click Next to continue
Leave Unit Location blank for now — this can be set later during DOOH CMS assignment.
Click Next to continue
Review and confirm all information.
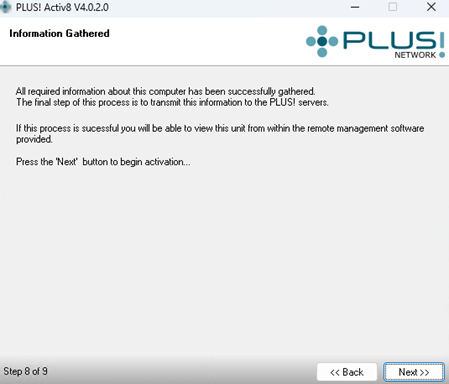
Click Next to complete activation.
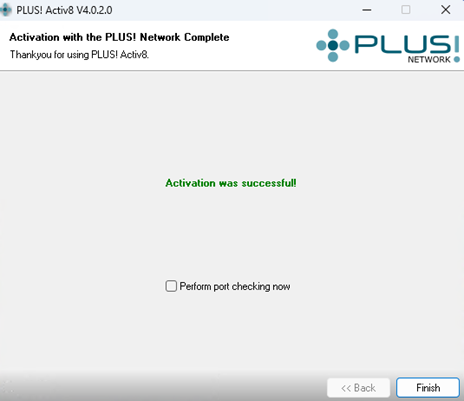
Once you see the Activation was successful screen: select - Finish
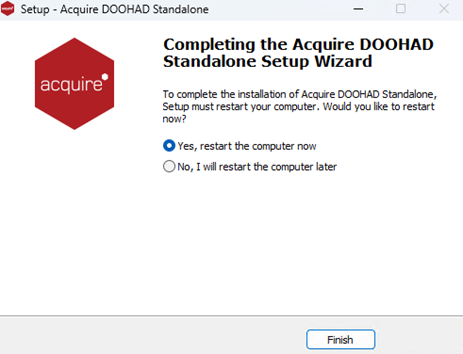
Final Steps
- Restart the computer.
Choose: Yes, restart the computer now
Once restarted, press the Esc key and type watchdog (Note: no key strokes are shown)
-
- The Watchdog Control Panel will open, where you will find the Unit ID.
- (example 1234) as highlighted below.
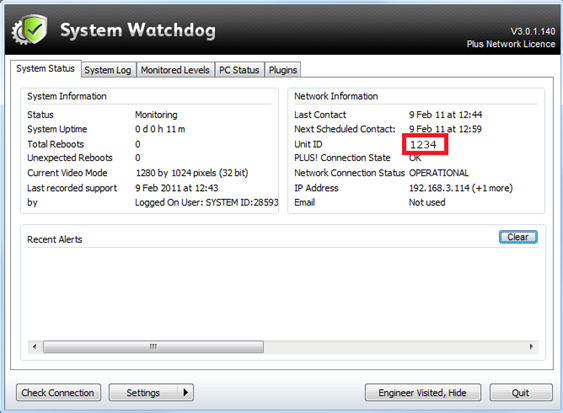
The Unit ID is now ready to be added to the DOOH CMS for content assignment.
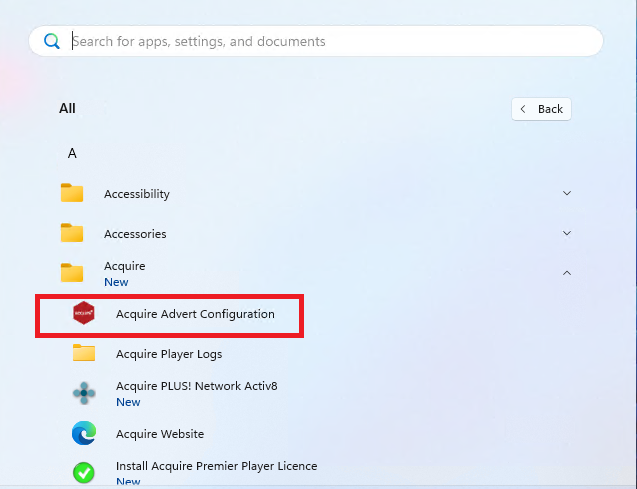
Accessing Configuration Post-Setup
To adjust settings such as resolution or display parameters after setup:
Navigate to: Start Menu > All Apps > Acquire > Acquire Advert Configuration
Select the Acquire Advert Configuration
Set your options in the configuration tool - Save and Close
Restart the Player Pc.