Site Manager allows you to create a site and allocate account managers or engineers to that site.
There are four tabs shown in the screenshot below. You can input; ‘General Information’, Site Contact Details and Site Notes. These are all self-explanatory. But what you can see below is the ‘Geographical Location’ tab. This uses Google Maps to display a map and show the latitude and longitude taken from the country and postal code information. If that is not quite 100% accurate then you can simply drag the ‘pin’ and move it to the exact location of your unit.
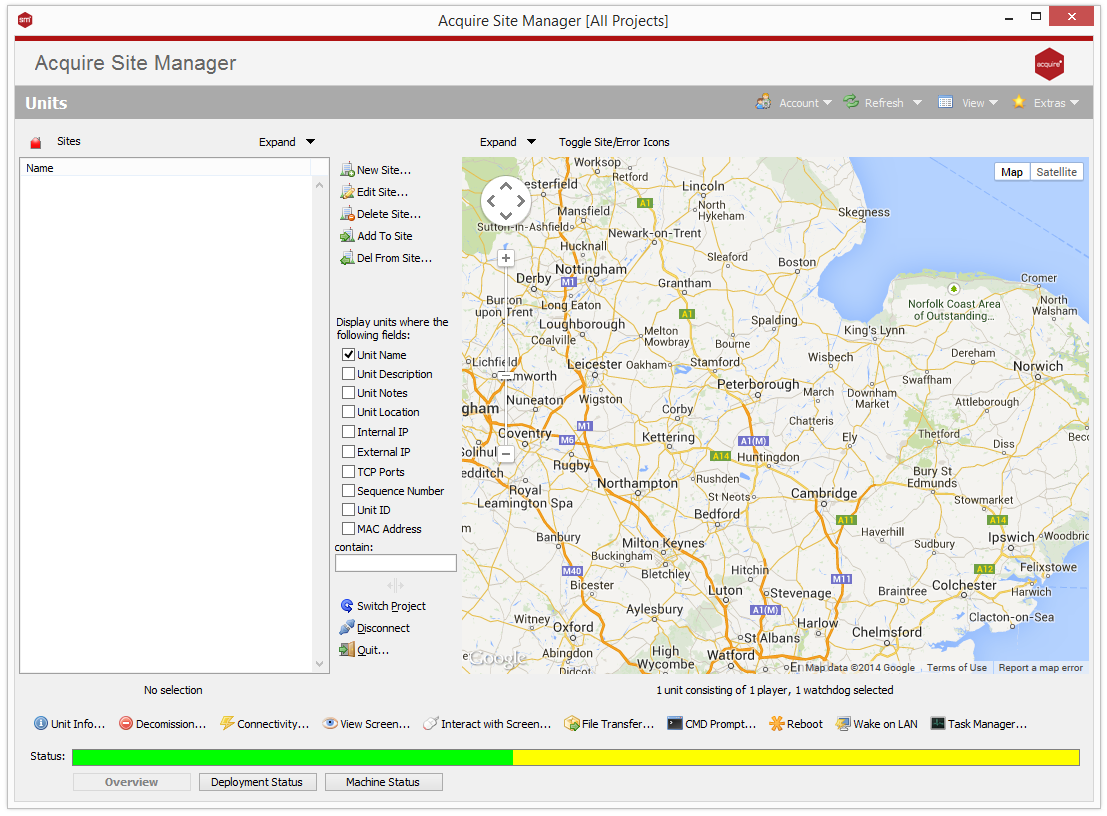
Once you have created your sites you just need to drag the various units on the right into the relevant sites on the left.
Working With Your Units
We will now take a look at the ways in which you can view and interact with your kiosks or digital signage players in the field. This is the section in which Site Manager controls the units via the PLUS! Network.
General Information tab
This can be accessed either by double-clicking on the unit or clicking on the ‘Unit Info in the bottom left corner. It brings up the window shown below:-

Unit Status tab
The Unit ID is important as you will be asked for this should you need to contact the Acquire Digital Support team. This information is all set when your engineer installs and commissions the unit in the field i.e. installs the System Watchdog and runs the ‘Activ8’ program.
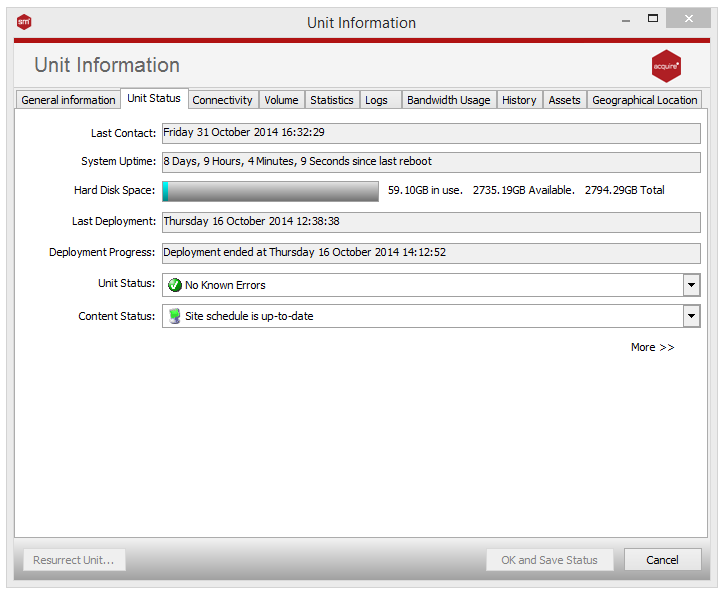
The Unit Status shows the last time your kiosk or digital sign checked in with the PLUS! Network servers and how long the unit has been online since its last restart. You can also see how much hard disk space you have available. The unit status drop-down menu shows that there are no known errors at the moment. If an exception occurs, this will show a red cross stating that an exception has occurred. You can manually change this to an ‘Exceptions Occurred and Noted’ status or the ‘No Known Errors’ status if you have resolved the issue.
The ‘Authentication’ field shows the last time that the unit securely authenticated with the PLUS! Network servers. If there is a problem with connectivity and you are sure that the unit is able to connect to out to the internet then you can press the ‘2nd Chance’ button. This will allow the unit to connect to the PLUS! Network without a password in order to re-establish its connection. If this is successful then the automatic password authentication system is re-activated.
If your unit is connecting to the internet wirelessly then you can view its signal strength from this screen.
Here you can set how often your units connect to the PLUS! Network servers. You can also inform the servers that the unit will be turned off between certain times so that unwanted exceptions are not sent e.g. your kiosks or digital signs may be switched off overnight.
You are also able to manually change the ports on which the Site Manager connects to your units. If there are reasons why inbound ports are not accessible then you can use the ‘Reverse Access’ function which is shown later in this manual.
Volume tab
If your units have speakers then you can set the volume using this control.
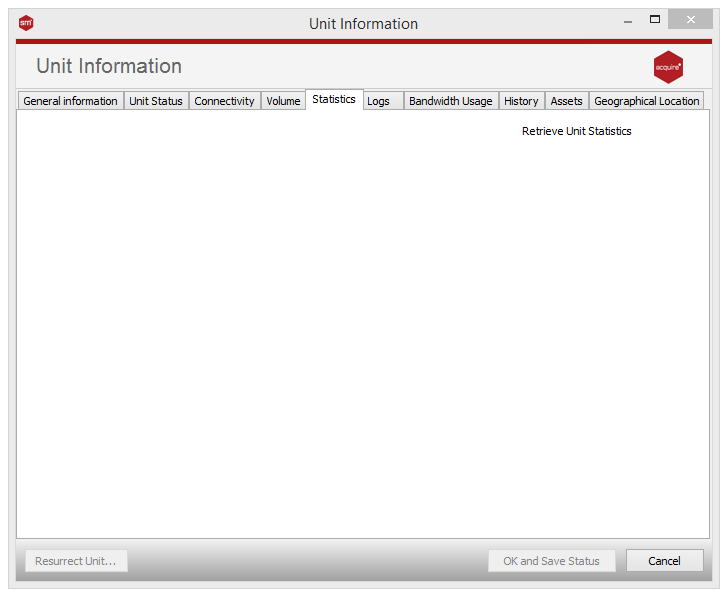
Statistics tab
There are a number of useful charts and statistics available. You are able to see a graphical representation of; connectivity or up-time, hard disk usage, page allocation (showing if there are any ‘memory leaks’), the bandwidth usage of the unit (i.e. how much data has been transferred over the PLUS! Network) and the wireless strength.
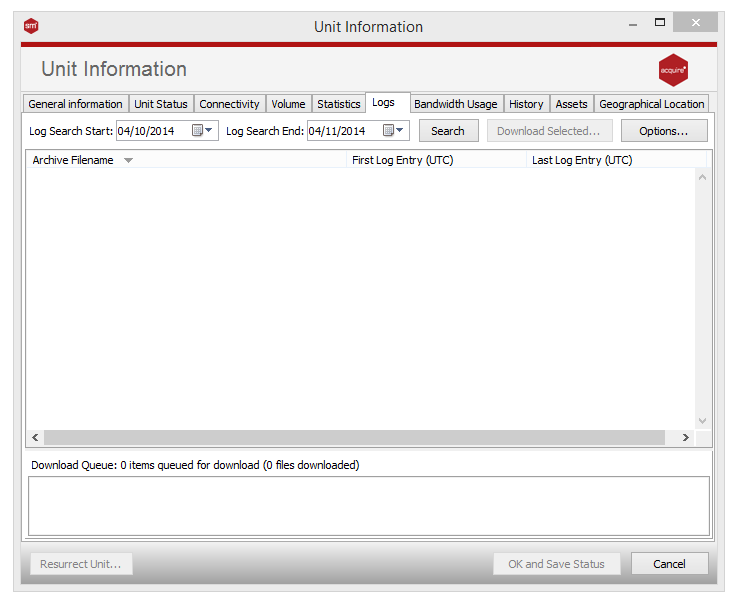
Logs tab
All of the information measured and monitored on the kiosks or digital signs is recorded and stored locally on the units as log files. These log files are then uploaded to the PLUS! Network servers each time the unit connects.
You are able to search between specific dates and download these logs to the PC on which you are running Site Manager.
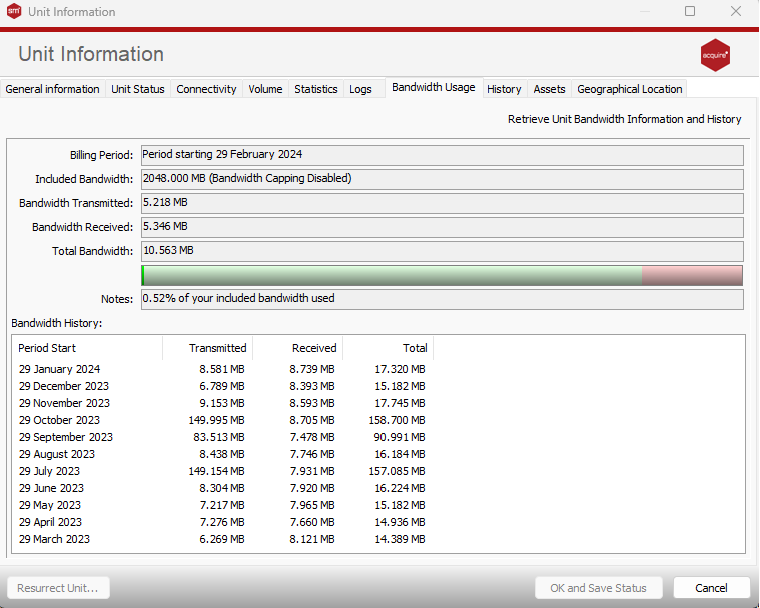
Bandwidth Usage tab
Here you can see the details of the amount of data that has been transmitted to and from your units over the PLUS! Network.
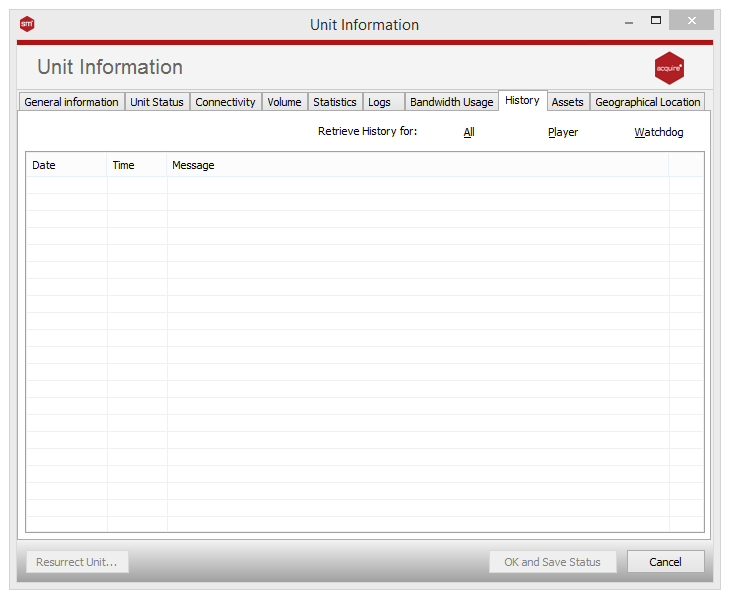
History tab
Finally, the history tab shows you a snapshot of your unit’s activity.