Firstly to create a new project, go to the ‘Project’ tab and select ‘Add’.
Give it a name and choose your folders (or let Acquire make a uniquely named one for you).
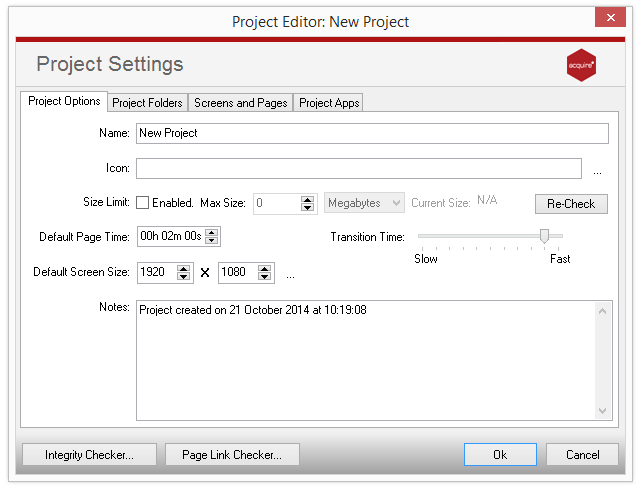
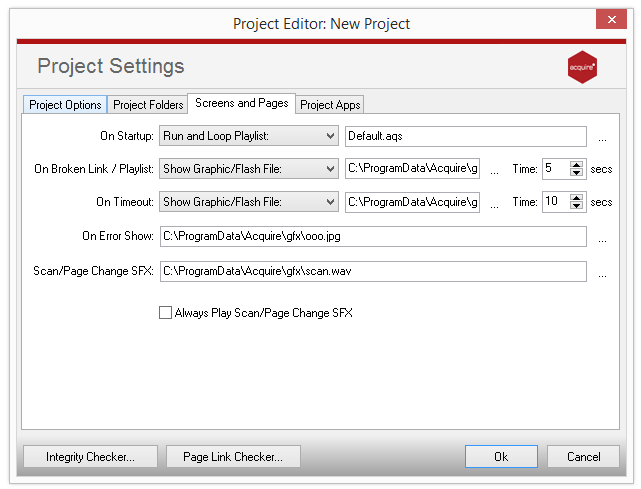
You also need to choose the settings you want to use for this Project (especially what you want Acquire to do ‘On Startup’. You may wish to return to this Project Settings screen later after you have created some pages and playlists. If you want to play just one page (maybe if you are creating a kiosk), choose it here, or choose ‘Run and loop Script’ and a script to use if you want Acquire to show a playlist of content.
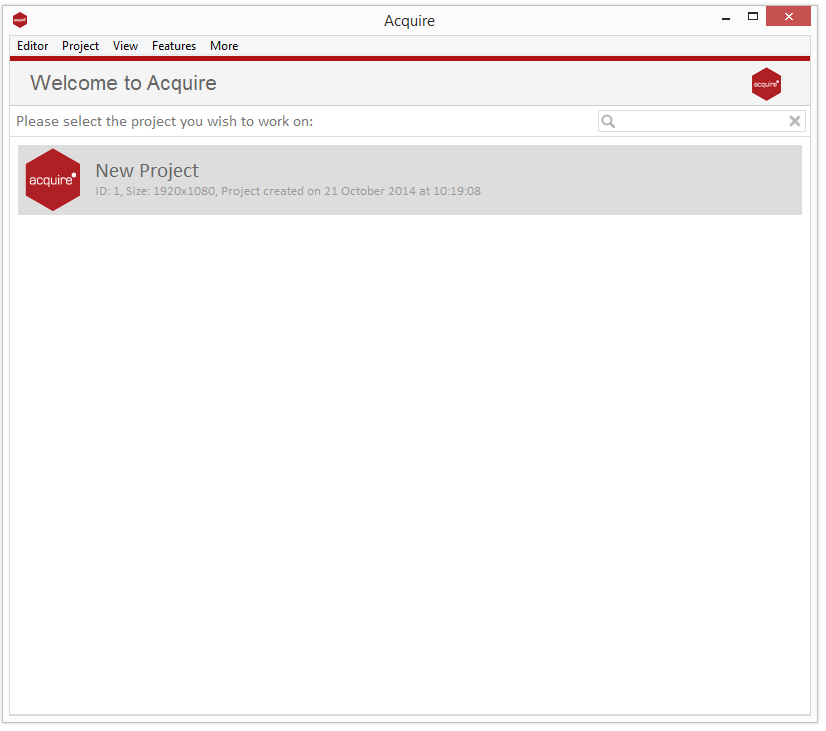
Once Done you will see the Project on the main Acquire Editor.