
Once logged in you will see either you have several projects under you Organization or You don’t have any projects!
Select New Project. 
You will now see the window - Create New Project.
- Organization
- Name of the Map/Location
- Description
This will be your org when logged in
Give it a description of what the location may be (optional)
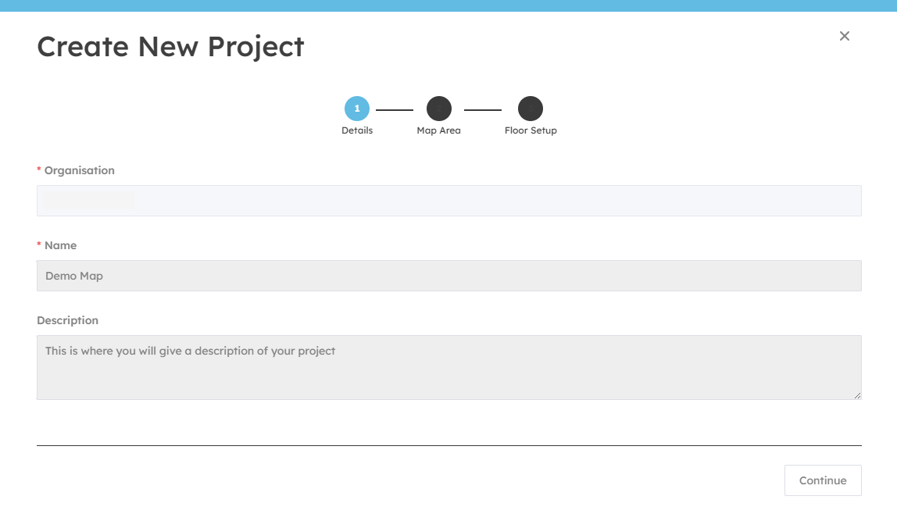
Select – Continue
This will open the map area where you have 2 options.
- Use my location to select the map aerea
- Use the search function and type in a location
By using the +/- you can zoom in and out of the map to.
By left clicking on the map you can select the area of your choice for the mapping.
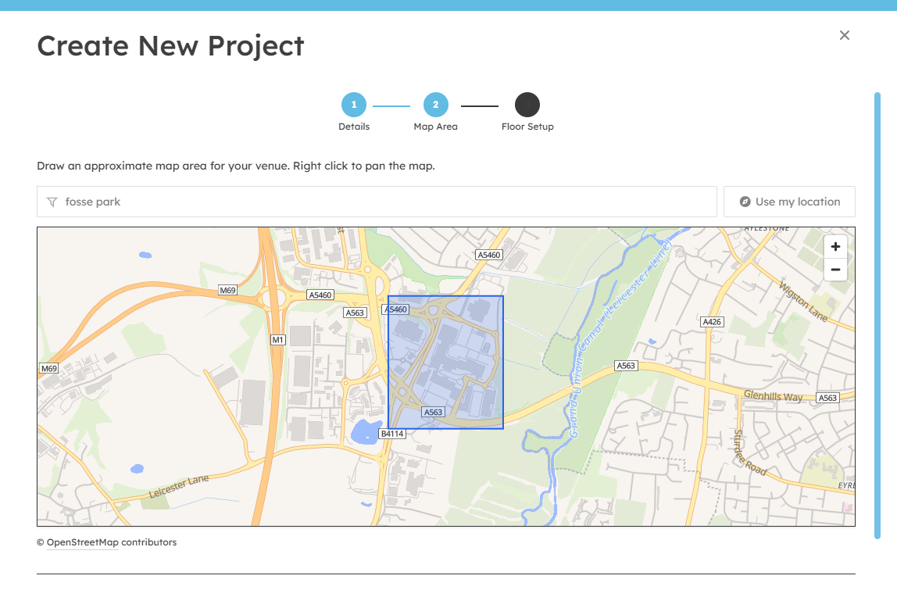
Once happy select 
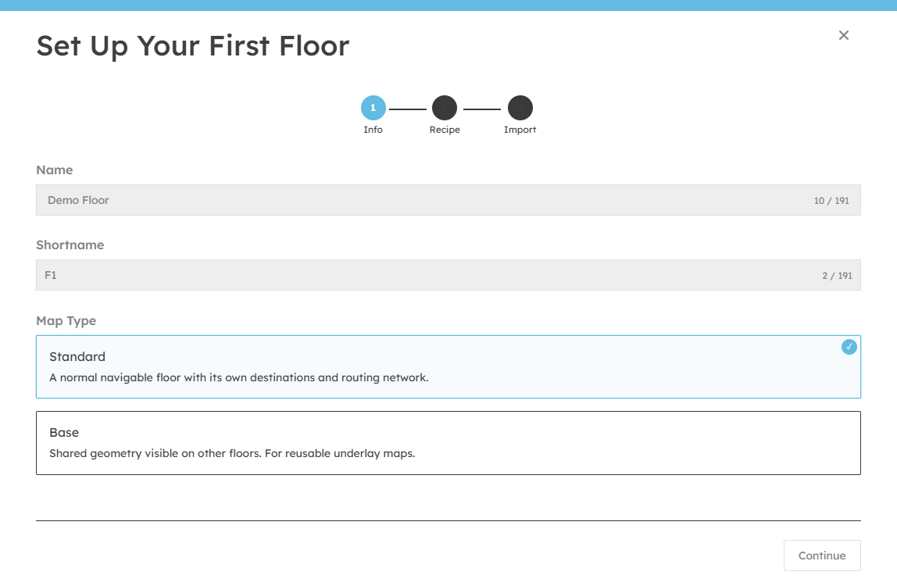
The window – Set Up Your First Floor will appear, if for example its only one floor.
Select
- Name
- Short Name
Map Type.
- Standard
A normal navigatable floor with its own destination and routing network
- Base
Shared geometry visible on other floors, For reusable underlay maps.
Select – Continue
A new window Set Up Your First Floor will open again, with several options.
See below:
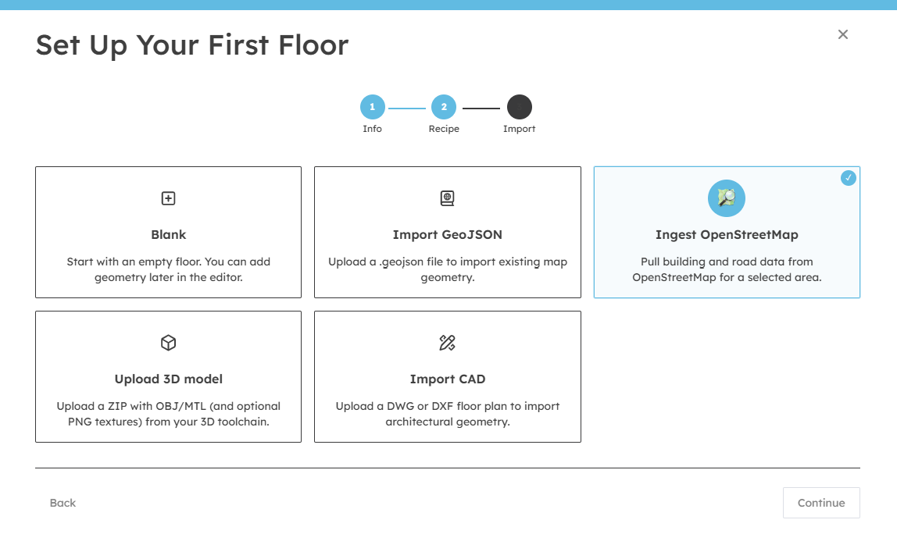
Once you have chosen the required option select – Continue
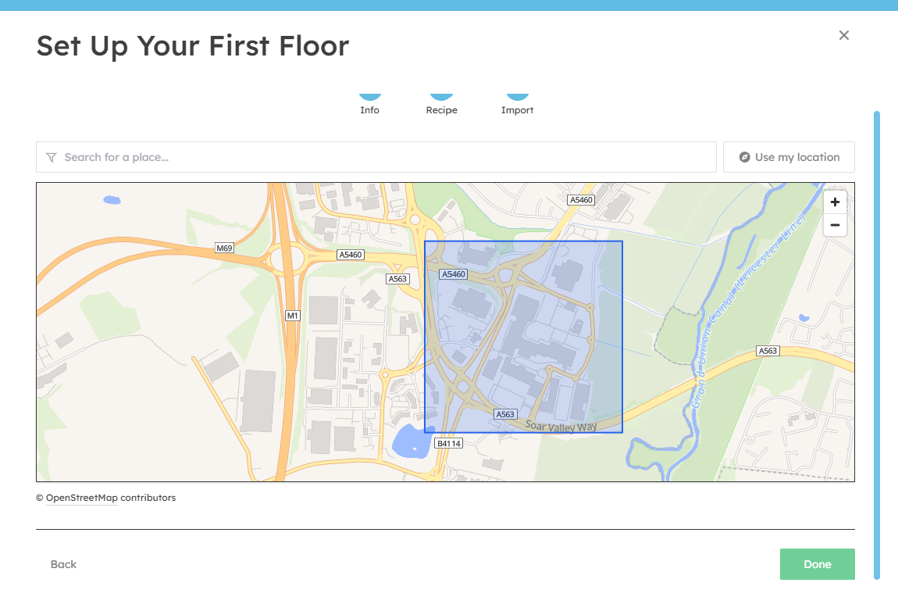
This will then open the window with the area you have selected, giving you chance to reselect the required area.
If happy select - Done
You will now see the  icon.
icon.
Once complete you will be redirected to the map.
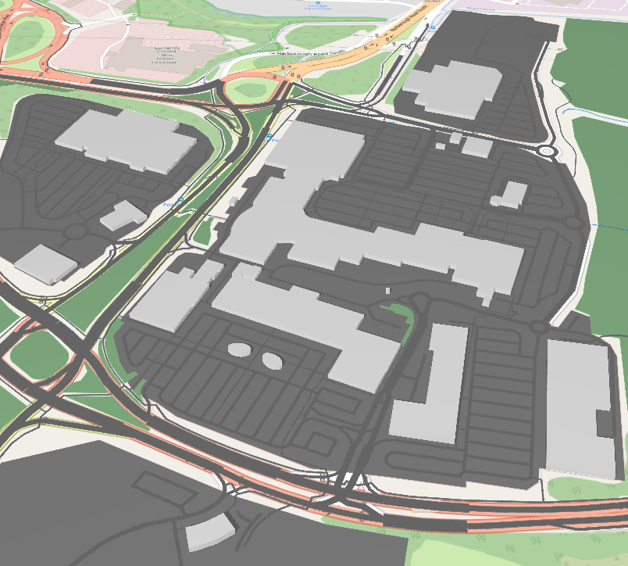
From here you can start editing the map for labels, routing, adding images, location information, etc.