
This page is designed to explain to clients how to manage content for campaigns which have been setup for you by a screen owner who has assigned the campaign and setup and slots you may need. For specific assistance, please contact your partner.
You may have been asked to upload or manage content for one of more campaigns you have purchased on screens within a network. Your partner uses an online tool called DOOHAd to allow them to manage your content on their screens.
To access the service, open a web browser (Chrome is preferred but other browsers should work).
Enter DOOHAD.COM into the address bar.
You should see a screen like this:
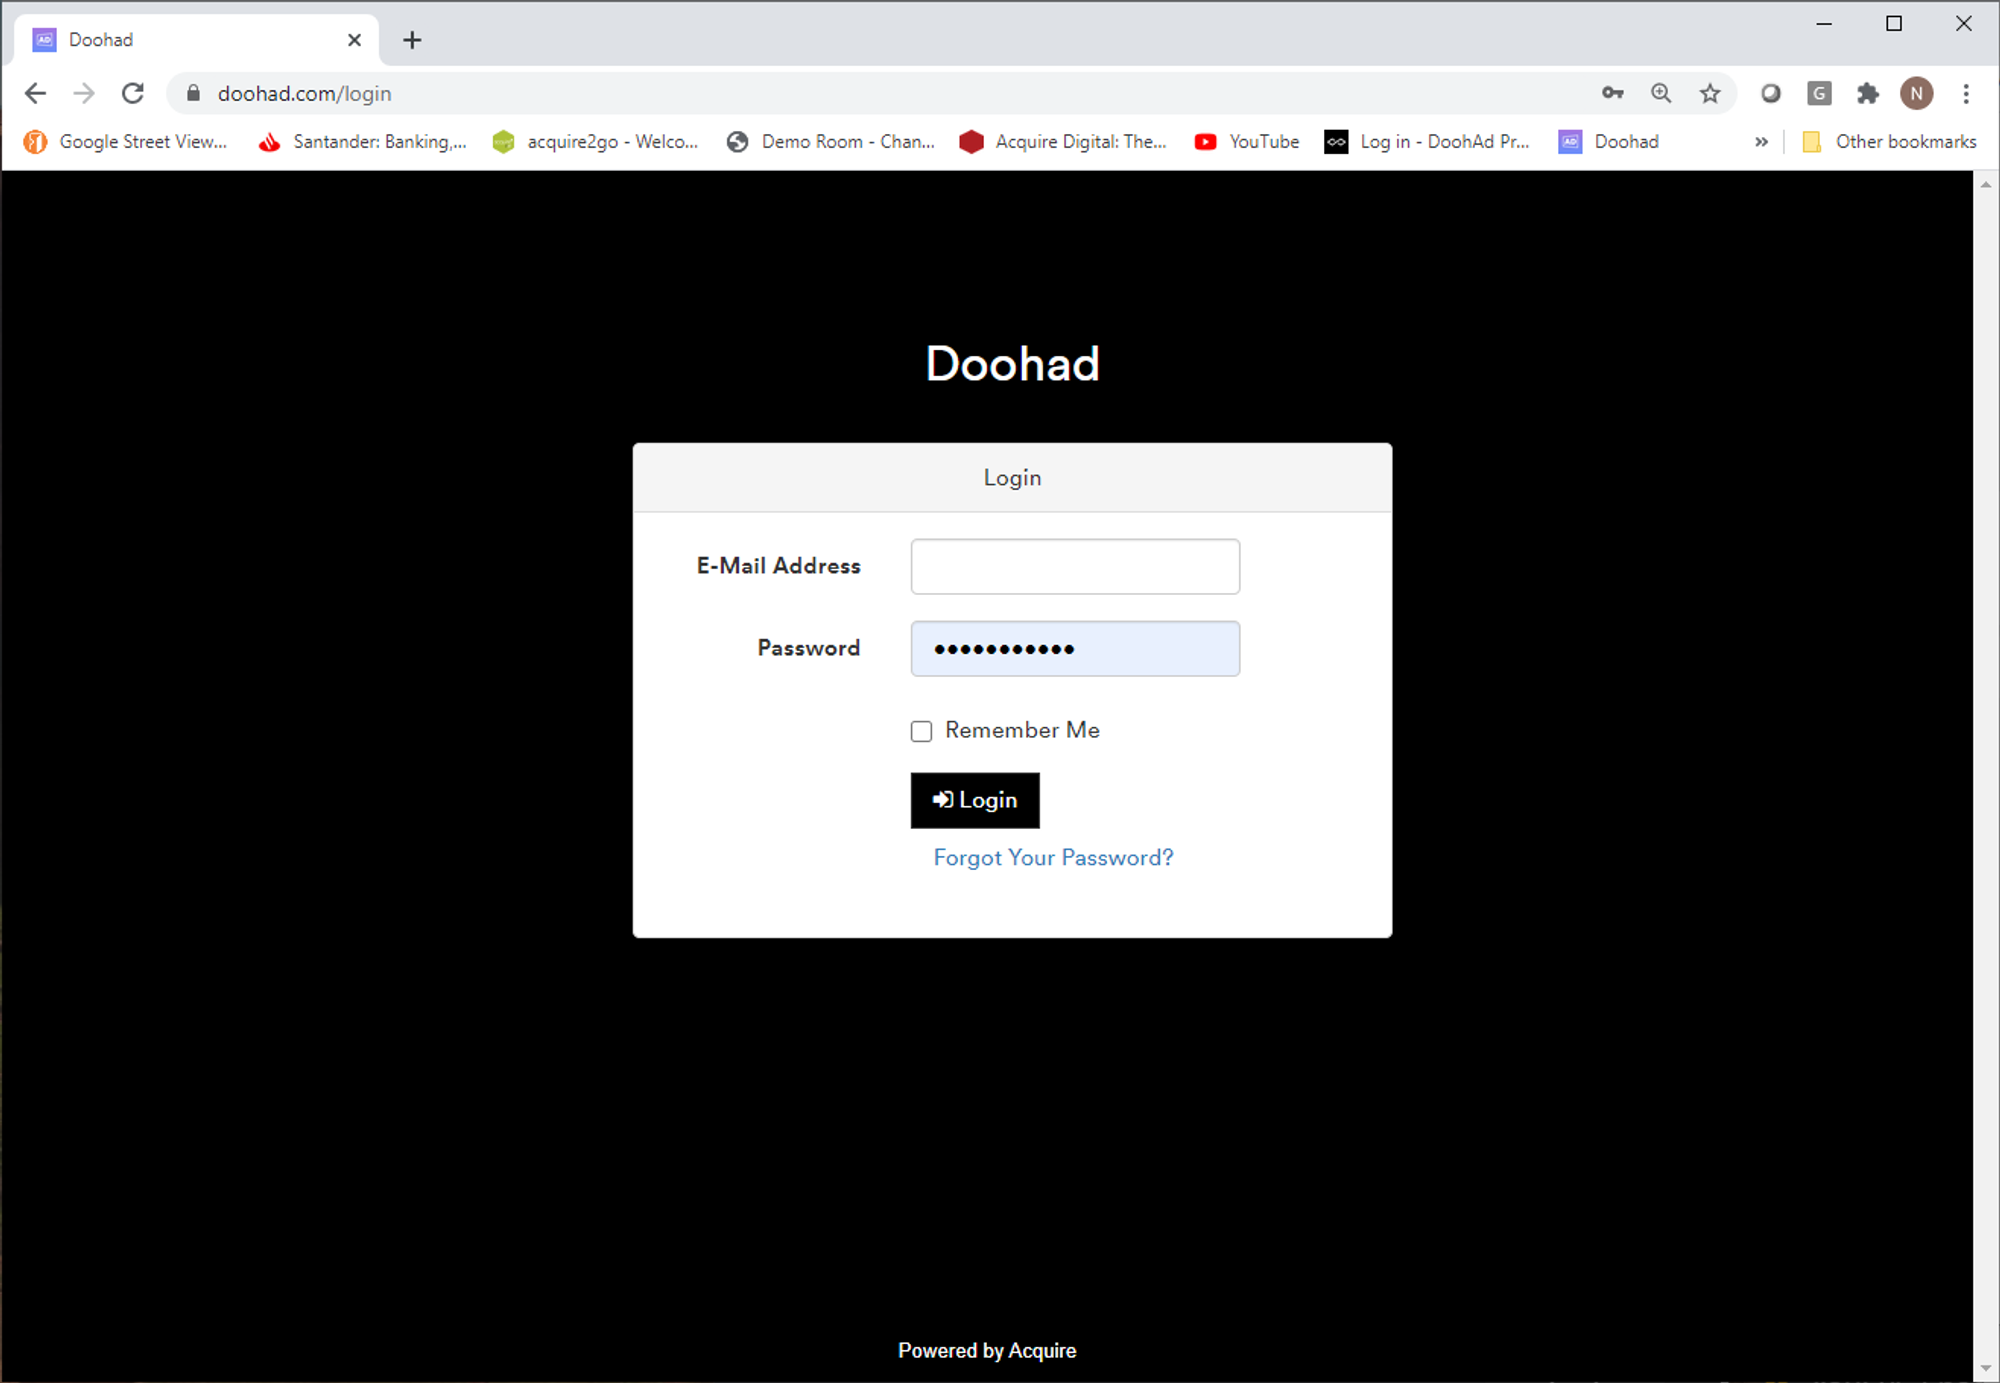
nter the email address and password for your account. These should have been supplied to you by your partner.
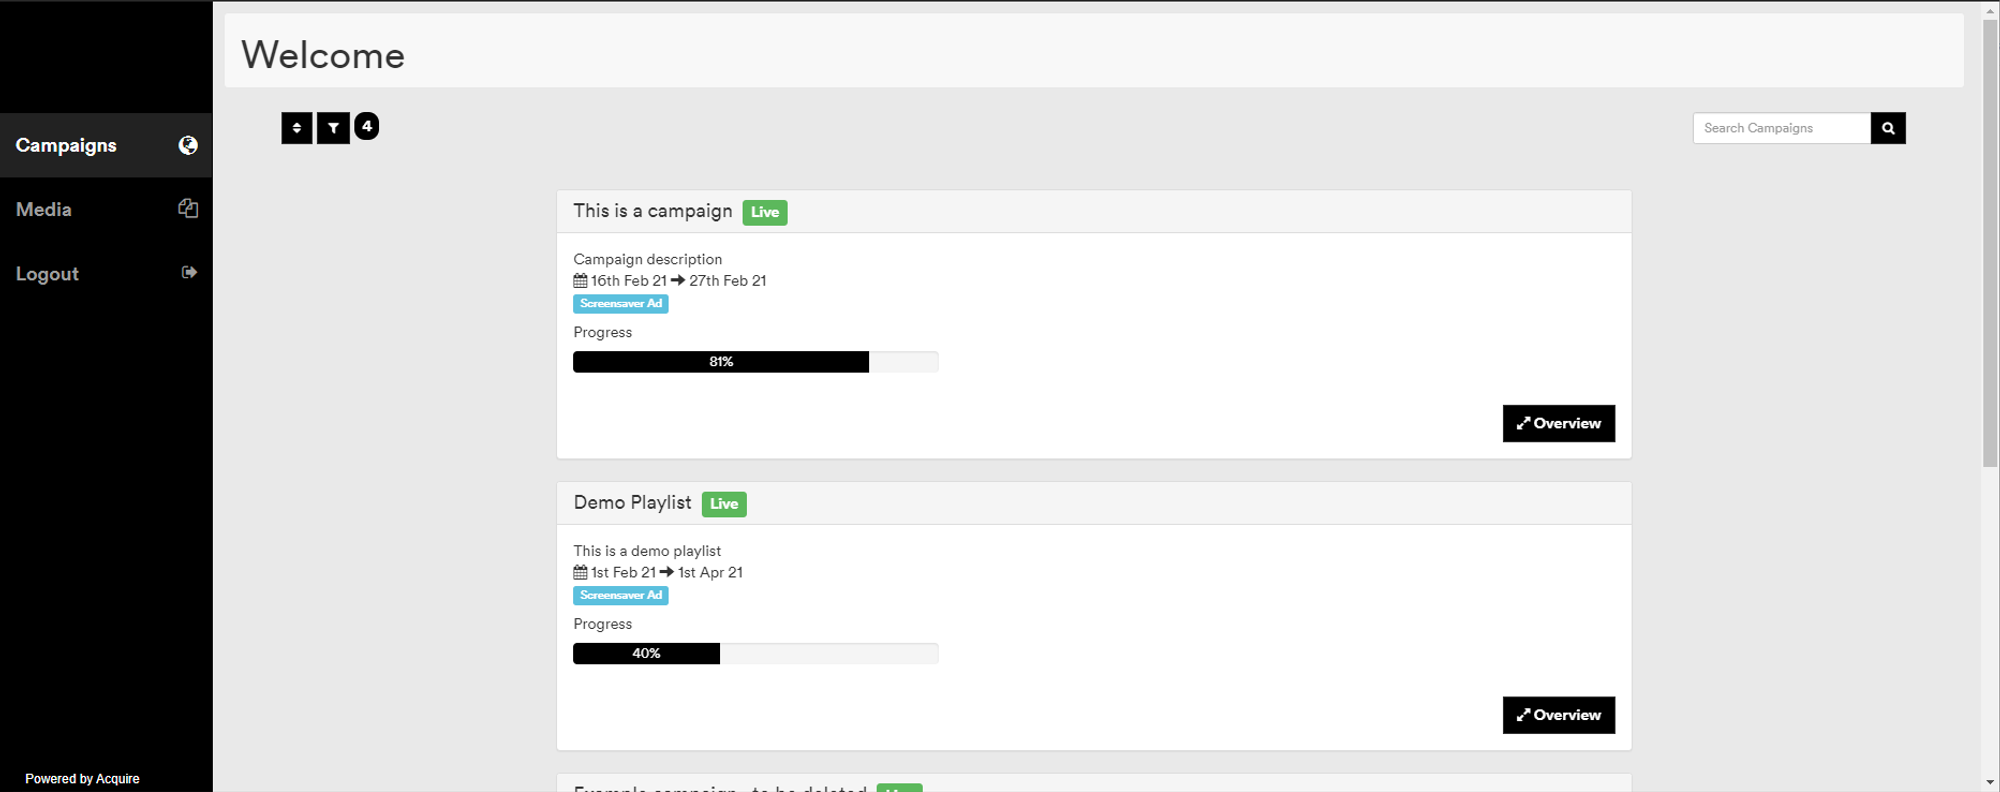
nce you have logged in, you should see a screen like this, showing any planned, active, and expired campaigns you have assigned to you. You can use the filter and sort buttons in the top left of the screen, and the Search option on the top right of the screen to find any specific campaigns.
All of the campaigns are listed with the most recent first by default, and if your campaign has not yet started, the campaign you need to work upon should be near the top.
For each campaign, you will see details of the campaign, with the dates it is operating for and the type of advert. Your partner should have supplied you with a specification sheet for where and how the campaign is used.
If the campaign is already due to be playing, you can see the progress of the campaign and how much longer it has to run for too.
IMPORTANT - You should expect to upload and assign content prior to a campaign starting, and typically within a few days to allow any content you upload to be approved. Your partner will confirm a time, but typically a 72-hour period is the minimum prior to the campaign starting you should upload your content.
To upload your content for a campaign, you need to press Overview on the campaign you wish to manage.
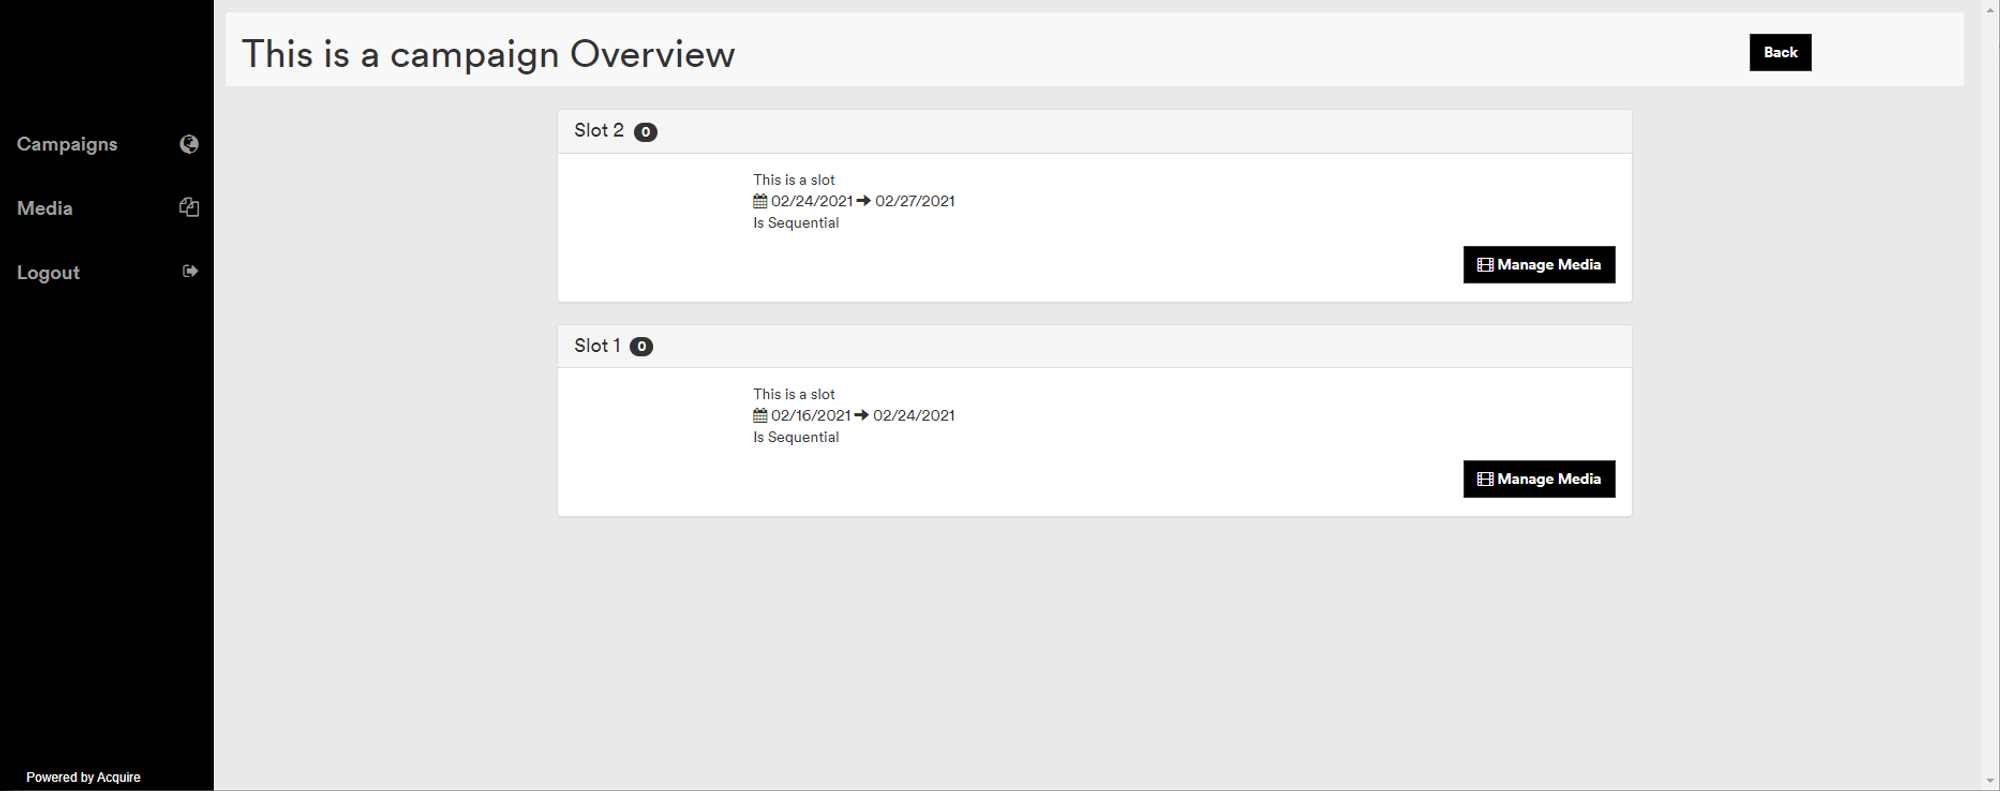
Within a campaign, you will find one or more slots which have been configured for you as part of the campaign by your partner. Typically, you will have one slot, but if you have a campaign which changes over the time the campaign runs for (a 'teaser' campaign), you will have a slot available for each period of time you want each piece of media to play.
Details of each slot are shown and the dates the slot will show for.
The slot can either be sequentially played or random. Each campaign you have purchased will play for the time you have agreed with your partner, however you may have more than one piece of media playing during your advertisement playout, with each piece of media playing in turn on every loop of the content playout. Usually this is not required, but it does allow you to have different media playing on each loop to reduce "content fatigue" by viewers.
To edit the media assigned to a slot, click on the Manage Media button.
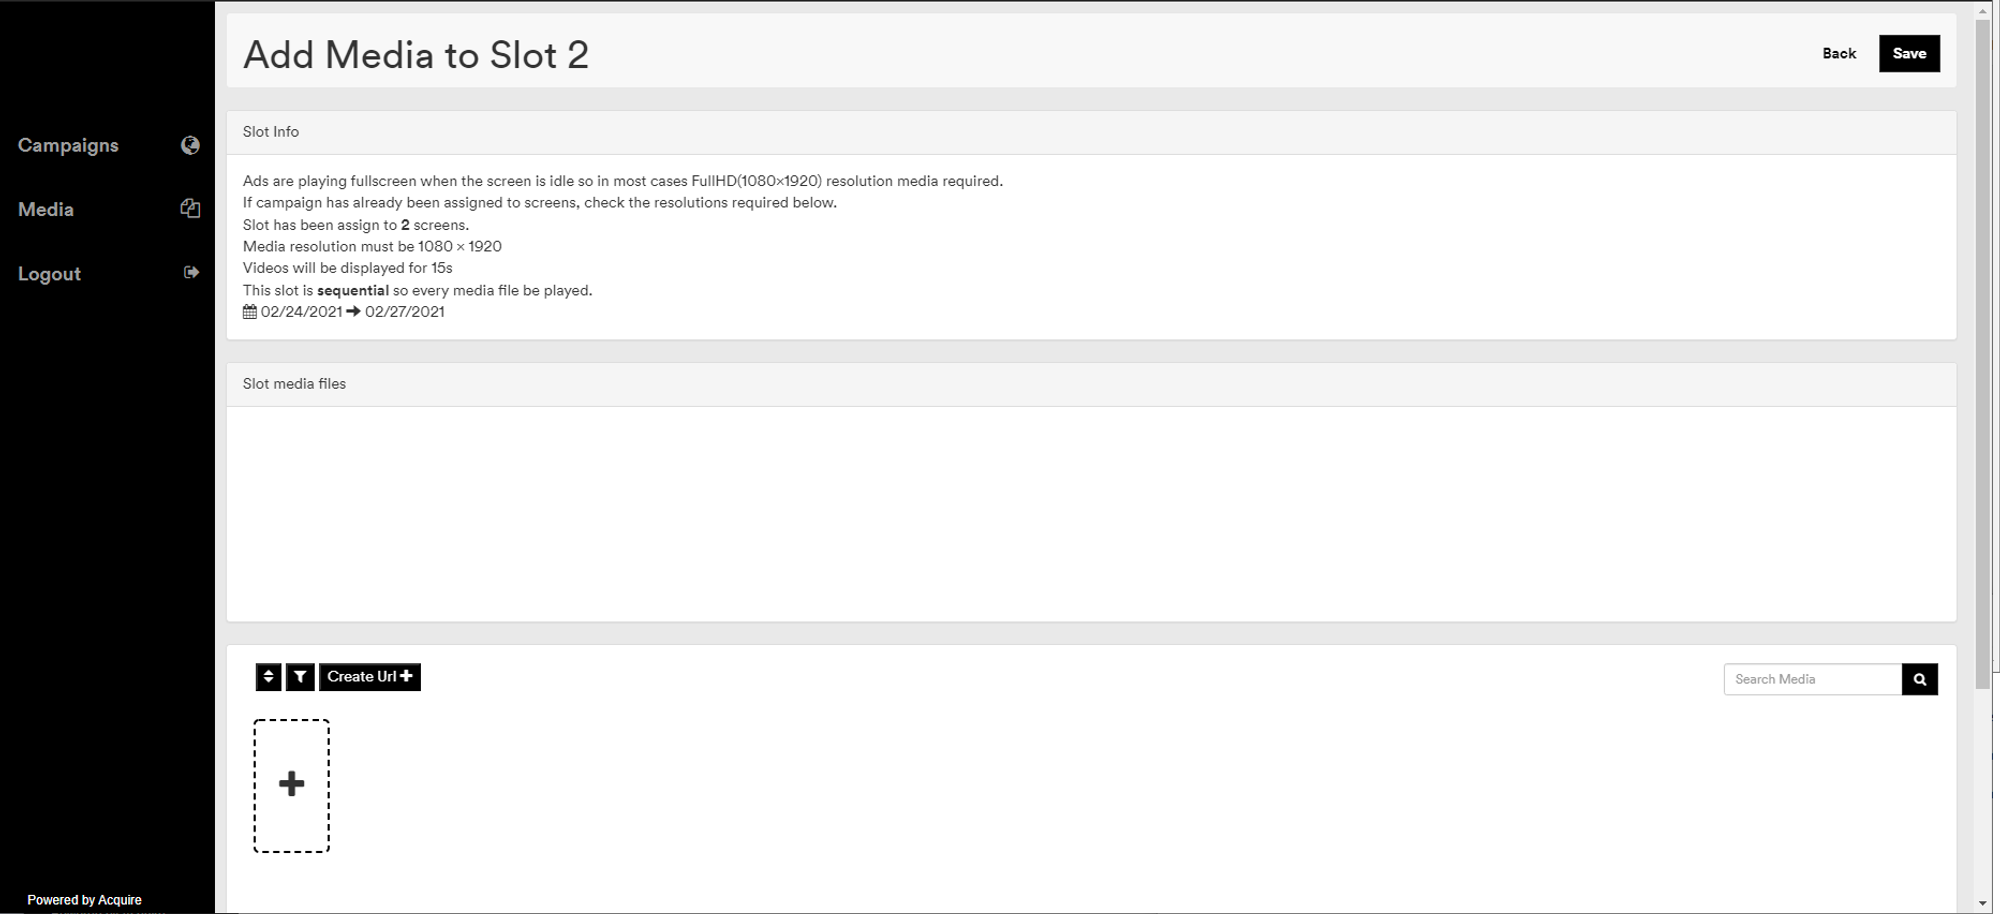
Details of the applicable media are shown on the top of the screen. You should ensure your media is compliant with the settings shown here.
Any graphical media will show for the amount of time shown. Any video media will only show for the amount of time shown. Sometimes slots can be variable in length and there is no restriction. Most slots are configured to have a fixed time - if it is less that this time, it will typically hold on the last frame until that time elapses, and if the video is longer that that time, it will be cut short at that time.
The middle of the screen shows the media currently assigned to play in the campaign. Typically, only one media item will be assigned to a campaign slot.
Your media is shown in the window below. To add media, click on the + sign and select a file, or drag-and drop the file you want to upload onto it. Currently DOOHAd supports the following file formats:
- Graphics: PNG (24bit), JPEG - all using RGB colourspace (typically 'for print' graphics use CMYK for printing purposes and these will have distorted colours.
- Video: MP4, h.264, MOV - note that 'for screen' type of videos should be used, which are typically compressed rather than 'high bitrate' versions.
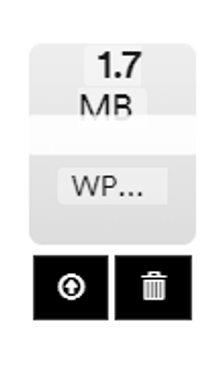
Once you have selected the file you wish to upload, you will see a thumbnail of the media and two icons - the one to the right (trashcan) cancels the upload, the one to the left (arrow) uploads the file to your media collection. Click the left icon and you will see the upload progress on the bar.
During upload, you must stay on this screen.
Once your media is uploaded, you will see it in your media collection. If it is a video, you will see a spinning wheel signifying that the media is being transcoded for use. Depending upon the size and length of the file, this usually takes a few minutes - you can browse away from this page or upload more media as this process occurs.
Once the media is available for use, you can preview it by clicking the thumbnail.
You can now drag-and-drop the file(s) you wish to assign into the middle portion of the screen.
The media must be the same size as the details show in the slot information. If the media is incompatible with the slot (wrong size, wrong aspect ratio, etc) this will cause the content to be distorted and not play, so you are prevented for placing incompatible content into slots.
IMPORTANT - Your content will not yet play, however. Any new content uploaded needs to be approved for use on the screens by your partner. You can check the status of the content signoff by viewing the icons on the top left of the media in your collection.
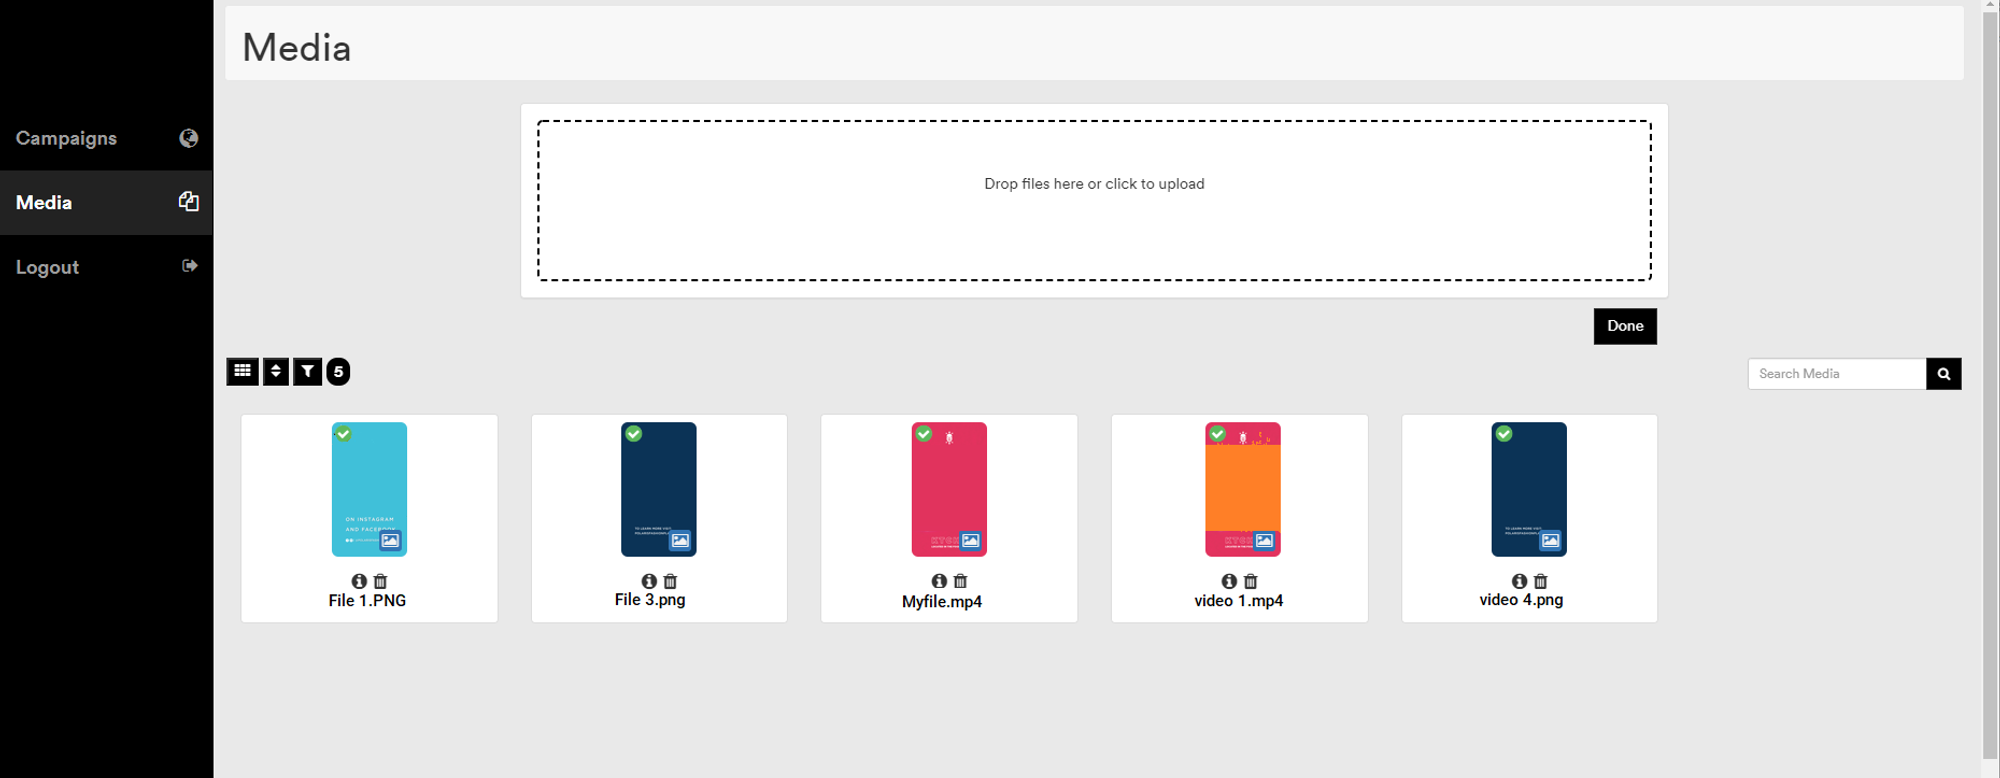
To view your media collection, press the 'Media' button on the main menu to the left of the screen.
As with the slot media assignment, you can sort, filter and search for media on the screen.
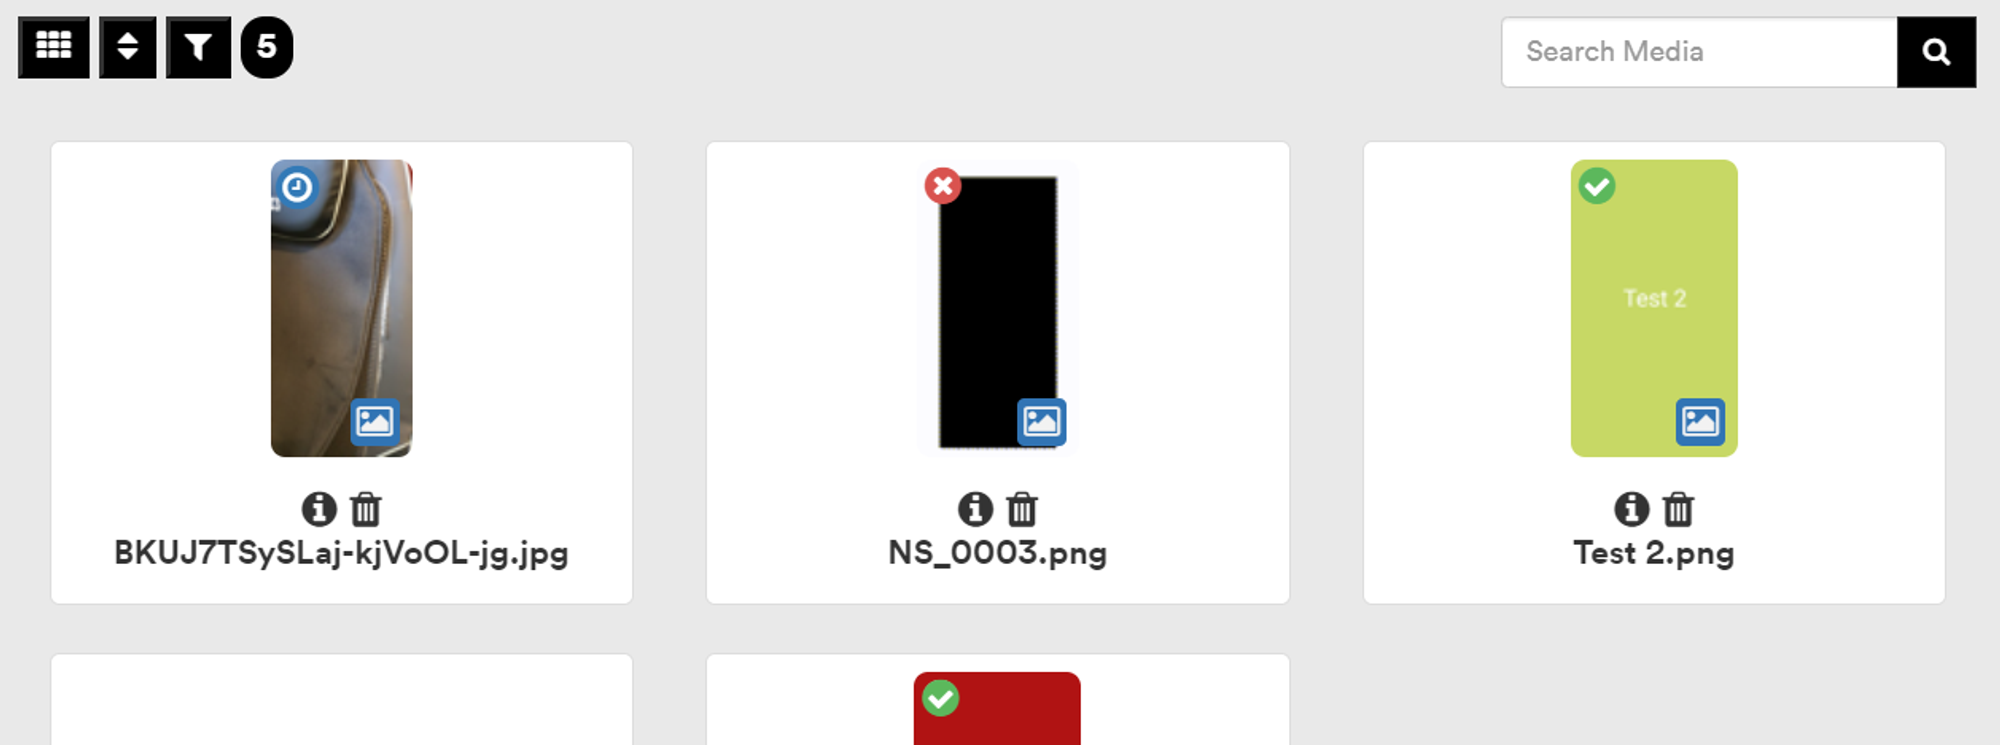
The icon to the top left of the media thumbnail shows you the current status of the media signoff.
- Blue clock: content awaiting signoff
- Red cross: content has been rejected. Check the media information for the reason.
- Green tick: content has been approved and if assigned to a slot, will play when the campaign is live.
You can preview the media by clicking on it.
You can view the details of the media by clicking on the i icon under the media to see information.
Over time, your media collection will grow, and it will become harder to find files. You can keep your media collection clean and tidy by deleting old files you no longer wish to use - press the trashcan icon under a piece of media and press 'OK' on the confirmation dialog to delete it.