
Its basic functionality is covered in this section, but for details on the extent of its full power, please consult the separate Site Manager User Manual which can be found in the downloads section of our web site. Alternatively, contact your account manager to get a copy emailed to you.
In order to use Site Manager, either as a module in the Acquire Editor Suite, you will first need a PLUS! Network account.
The Site Manager is linked to the Group Manager that you may have already used, before you accessed the Acquire Scheduler in order to deploy content over the PLUS! Network. Therefore, any groups that you set up in the Group Manager will be shown in the Groups Window in Site Manager.
Basic Settings
If you have not yet commissioned any kiosks or digital signs then you will see a screen like the one shown below. Click on the ‘View’ tab at the top right of the screen and select ‘Show All Units’.
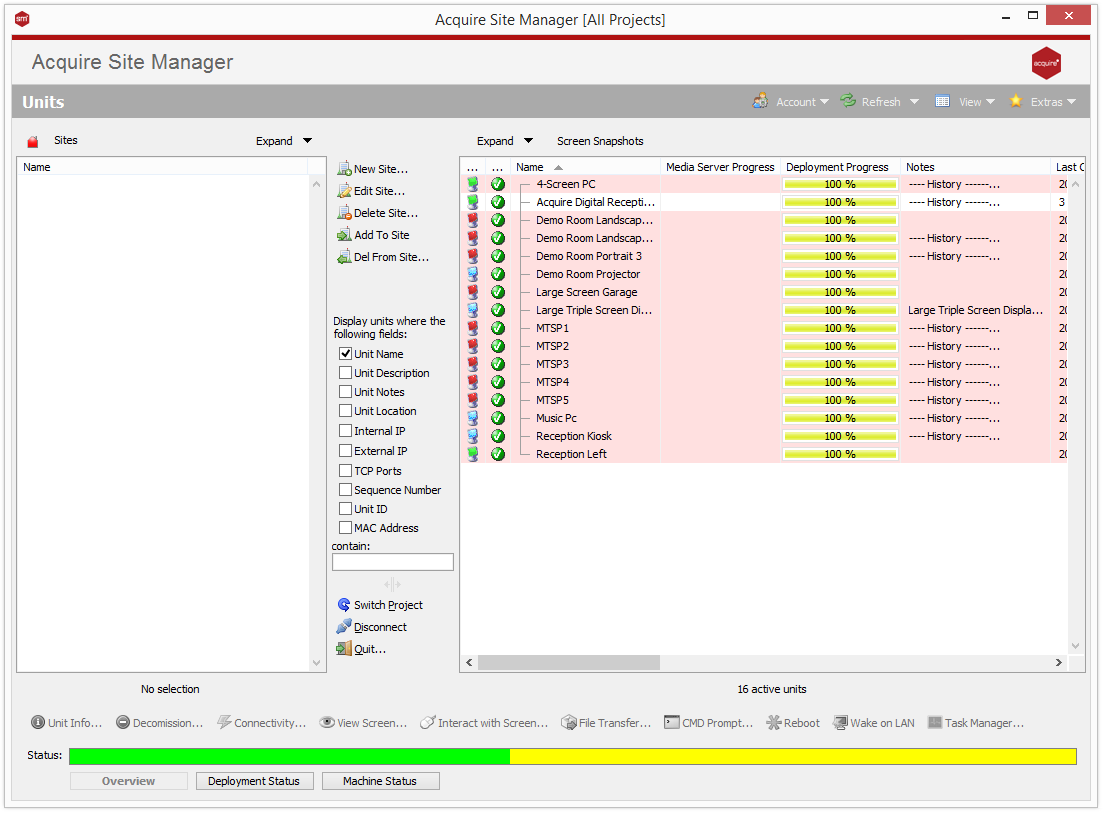
Using this ‘View’ option you are able to display or hide the various items that you can see on the screen. As you get more used to using the Site Manager you will develop your own viewing preferences and can change the screen from here.
You can also adjust the way in which your units are displayed by using the ‘Expand’ drop-down menus and the filter in the centre column.
The filter is the section that says - ‘Display units where the following fields:’ Tick the relevant box